Cedar shake roof maintenance: A seasonal checklist
Quick answer
Maintain a cedar shake roof by checking it from the ground and attic at least each spring and fall, keeping debris and gutters clear, and sending moss, leaks, badly curled pieces, or widespread deterioration to a cedar-experienced roofer. Cleaning and treatment should follow the roof condition and product instructions, not a universal interval.
Common questions
- How often should a cedar shake roof be maintained?
- Check visible conditions from the ground and attic in spring and fall and after major storms. Cleaning, treatment, and professional inspection frequency should be based on tree cover, moisture, roof condition, prior treatment, and manufacturer guidance rather than a fixed interval.
- Can you pressure wash a cedar shake roof?
- Do not treat pressure washing as routine maintenance. USDA and CSSB guidance says aggressive washing can remove wood fibers; if a cedar specialist determines it is necessary, the contractor should tailor the method to the roof and direct water down the slope.
- Should cedar shakes be sealed or oiled?
- Do not apply a film-forming sealer or assume any oil is suitable. If treatment is justified, use a product specifically approved for cedar roofs and compatible with existing preservative or fire-retardant treatment, following the manufacturer’s label.
- When should cedar shakes be repaired instead of replaced?
- Isolated damage may allow individual replacement or professional shimming when the surrounding roof and water-control layers remain sound. Widespread curling, repeated leaks, decayed decking, broad flashing failure, or extensive prior shimming calls for a larger repair or replacement assessment.
Source note: Guidance was checked in August 2026 against the Cedar Shake & Shingle Bureau and USDA Forest Products Laboratory. Roof age, cedar type, prior treatment, climate, slope, and local fire requirements can change the correct scope.
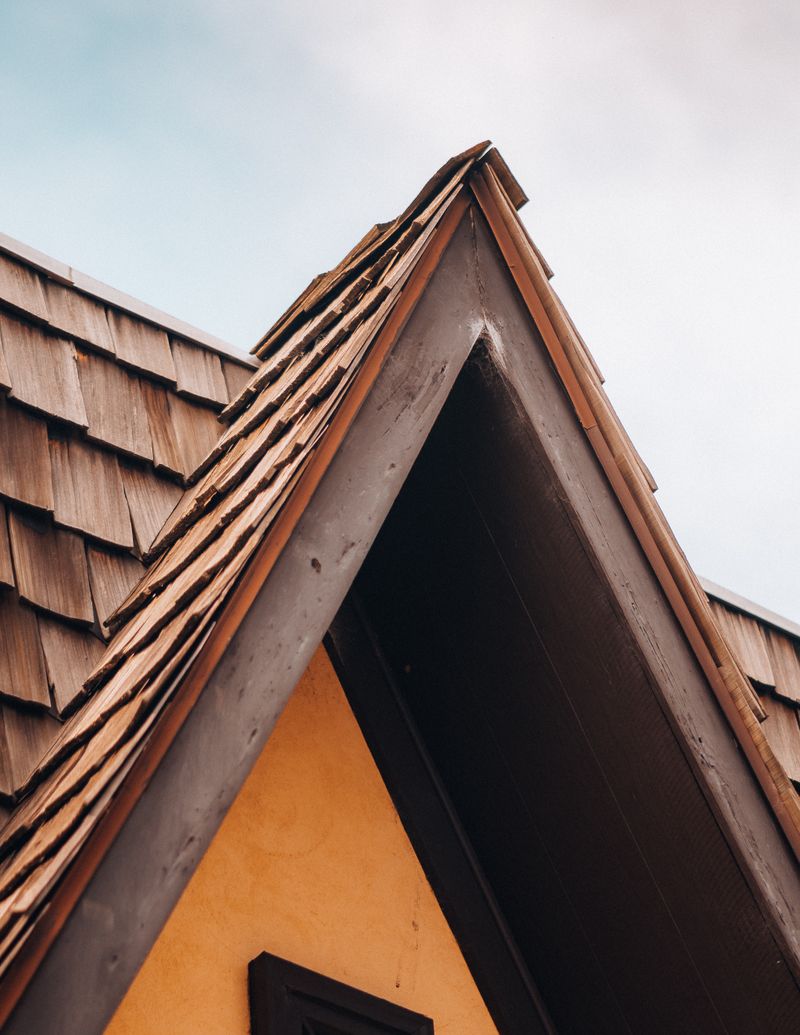
Cedar shake roof maintenance should help the roof shed water and dry between wettings, not restore a new-wood color. Inspect from safe viewpoints in spring and fall, clear moisture-trapping debris, and have a cedar-experienced roofer evaluate moss, leaks, damage, or questionable treatments.
There is no universal schedule for cleaning, oiling, or preservatives. Tree cover, rainfall, sun, roof age, cedar species, installation, and factory treatments all affect the decision.
Safety first: Do not walk on a cedar roof yourself. The Cedar Shake & Shingle Bureau (CSSB) advises homeowners to use a professional for roof surveys, and USDA guidance warns that aging shakes can crack under foot traffic. Inspect from the ground, a window, or the attic; OSHA guidance reinforces that roof work requires planned fall protection.
Cedar shake roof maintenance schedule
Use the seasons as observation windows, not automatic treatment dates. Increase checks after severe weather and when branches, shade, coastal exposure, snow, or persistent humidity keep part of the roof wet.
Spring: check winter damage and drying
- Photograph each slope from the same ground-level locations used last year.
- Look for displaced, missing, badly curled, or freshly broken shakes; open gaps; and damaged ridge pieces.
- Check the attic during or soon after rain for damp decking, stains, musty odors, or wet insulation.
- Confirm gutters and downspouts drain freely and that water is not backing up at the eaves.
- Ask a cedar roofer to inspect any moss mat, recurring leak, loose flashing, or debris lodged in valleys and keyways.
Our broader annual roof maintenance checklist covers gutters, attic ventilation, flashing, and storm checks for the rest of the roof system.
Summer: manage shade, vegetation, and dry-weather work
- Trim branches that touch the roof or continually drop leaves and needles. Use an arborist for work above the roof.
- Check shaded slopes for areas that stay damp long after sunny sections have dried.
- Have corroded flashing or fasteners, open valleys, and penetrations assessed before storm season.
- In wildfire-prone areas, keep combustible debris out of roof-to-wall intersections and gutters; verify local defensible-space rules.
- If cleaning, repair, or treatment is proposed, use a dry-weather window and the product manufacturer’s moisture and temperature limits.
Hot, dry climates can accelerate checking and UV weathering, while humid and shaded sites favor biological growth. Neither condition makes a generic “oil every few years” rule reliable.
Fall: remove moisture traps before winter
- Clear gutters after the main leaf drop and confirm downspouts discharge away from the building.
- From the ground, look for needles, leaves, cones, or branches collecting in valleys, behind chimneys, and between courses.
- Arrange professional roof-surface debris removal where a hose or ground tool cannot safely reach.
- Recheck the attic and ceilings after the first sustained rain.
- Photograph repaired areas and record the product and batch information for any approved treatment.
Leaves and moss hold moisture against wood and can shorten service life. For the conditions that encourage growth, see our roof moss removal and prevention guide; use the cedar-specific cleaning limits below before choosing a method.
Winter and after major storms: observe, do not improvise
- Check ceilings and the attic for new water entry after wind-driven rain, snow, or thaw cycles.
- Use binoculars to look for displaced pieces, impact damage, and flashing movement.
- Keep people away from areas below loose debris or visibly damaged roofing.
- Do not climb a wet, icy, snow-covered, or storm-damaged cedar roof.
- Call a roofer promptly for active leaks, sagging, exposed underlayment, or multiple disturbed courses.
Cedar roof cleaning and treatment: do or do not?
The goal is the least aggressive method that corrects a real condition. Natural silver-gray weathering is not, by itself, proof that the roof needs bleach, oil, or a coating.
| Situation | Do | Do not |
|---|---|---|
| Routine inspection | Use ground photos, binoculars, windows, and the attic | Walk the roof to “test” brittle shakes |
| Loose leaves or needles | Have debris removed without prying or lifting courses | Let packed debris block drainage and drying |
| Moss, mold, or algae | Identify the growth and roof condition before selecting a cleaner | Scrape aggressively or copy a one-size-fits-all chemical recipe |
| Pressure washing proposal | Require a cedar specialist to justify the method and protect the wood fibers | Treat high-pressure washing as routine cleaning |
| Topical treatment proposal | Verify the label permits cedar-roof use and check compatibility with existing treatments | Use a sealant, waterproofer, plasticizer, diesel fuel, crankcase oil, or unfortified linseed oil |
| Color change only | Accept normal weathering unless a compatible finish has a defined purpose | Bleach sound wood merely to make it look new |
| Fire-retardant claim | Verify the listed roof assembly, product documentation, code approval, and insurer acceptance | Assume a field-applied coating creates a fire rating |
The USDA Forest Products Laboratory discusses commercial sodium-percarbonate cleaners, but it also warns that strong solutions and aggressive washing remove weathered wood fibers. Do not turn that discussion into a homeowner recipe: runoff, metal compatibility, landscaping, and prior factory treatments all matter.
CSSB guidance says some debris can be removed at garden-hose pressure, while power washing requires a job-specific professional assessment. When it is judged necessary, flow, fan tip, nozzle distance, pressure, and down-slope spray direction all matter. Ask for those details in writing.
Treatment is also conditional. USDA guidance says a finish is not mandatory for naturally durable western redcedar or Alaska yellow-cedar, and it warns against film-forming finishes that trap moisture. CSSB recommends considering only products labeled for cedar roofs, supported by safety documentation and a performance guarantee, and designed as a water repellent, UV inhibitor, or EPA-registered wood preservative where appropriate.
When maintenance becomes a repair question
Maintenance can clear drainage paths and reveal conditions; it cannot rebuild failed cedar, flashing, underlayment, or decking. Arrange a repair assessment when you find an active leak, a missing or badly curled piece, repeated fastener trouble, damaged flashing, or interior moisture evidence. Do not use caulk, coating, or aggressive cleaning to hide a defect.
Use our cedar shake roof repair decision aid to map the damage pattern, prepare a photo log, and compare repair-versus-replacement scopes. If roof age or remaining service life is the main question, use the cedar shake roof lifespan guide. For whole-roof budget boundaries, see the cedar shake roof cost guide; if you are still identifying the material, start with cedar shakes vs. cedar shingles.
Contractor handoff worksheet
Give each bidder the same information and request the same deliverables:
- Roof record: approximate age, known cedar type, installation documents, treatment labels, leak history, and insurer or code constraints.
- Condition map: dated photos of each slope, valleys, ridges, penetrations, flashing, damaged pieces, biological growth, and suspected wet areas.
- Cause statement: why debris, moss, staining, splitting, or leakage developed—not just the proposed product.
- Cleaning method: cleaner label and safety data sheet, dilution method, water pressure and flow, spray direction, runoff protection, and compatibility confirmation.
- Repair scope: count and location of replacements or shims, flashing and deck work, matching product, fasteners, and disposal.
- Treatment rationale: exact product, cedar-roof approval, existing-treatment compatibility, covered area, application conditions, guarantee, and realistic service expectation.
- Access and safety: ladders, scaffolding, fall protection, landscaping protection, worker coverage, license, and insurance.
- Closeout: before-and-after photos, leftover labeled product, warranty, maintenance triggers, and the next ground-level check date.
Use our roofing contractor hiring guide to verify credentials and references before approving roof access.
Your next step
Create a one-page roof record: sketch each slope, attach ground-level and attic photos, note the last storm or leak, and list documented treatments. If you see moss, damage, moisture, or uncertain coatings, send it to two cedar-experienced contractors and ask them to complete the worksheet before quoting.
Sources

Shingle Science Editorial Team
Independent trade-focused editorial team