Annual Roof Maintenance Checklist: Season-by-Season Guide
Most homeowners think about their roof twice: when they move in, and when it starts leaking. The result is a lot of preventable damage — small problems that compound over seasons into expensive repairs or premature replacement. A simple seasonal maintenance routine changes that equation entirely.
This checklist breaks roof maintenance into four seasonal windows. Each section identifies what to look for, what you can handle yourself, and what needs a professional. Print it out and keep it with your home maintenance file.
Before You Start: Safety First
Many of the checks below can be done from the ground with a pair of binoculars — you don’t need to get on the roof for most of them. A quality pair of 10x42 binoculars lets you see shingle granule loss, lifted tabs, and flashing gaps from the driveway. (binoculars for roof inspection on Amazon)
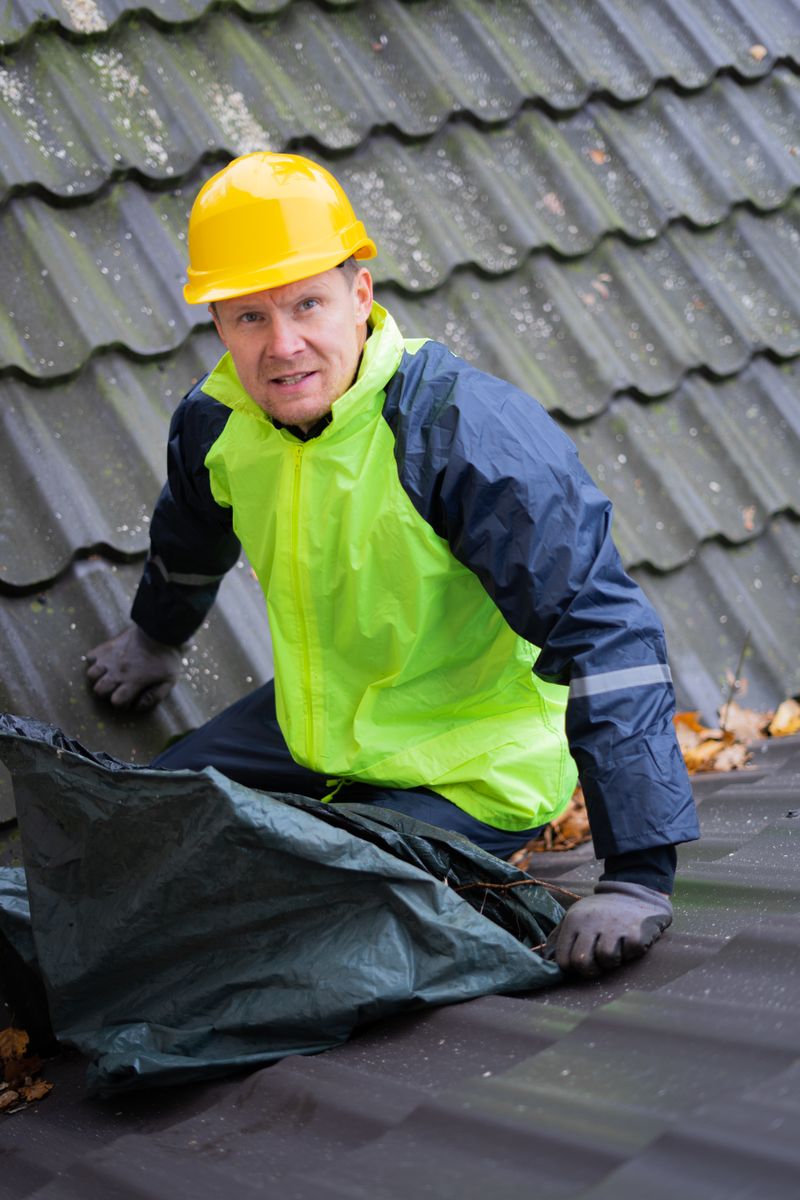
For attic inspections and gutter cleaning, you’ll need basic tools but no roof access. If you do go on the roof, use proper fall protection — a harness and anchor system rated for residential use.
Spring Checklist (March–May)
Spring is your post-winter damage assessment window. Ice, snow load, freeze-thaw cycles, and wind have been working on your roof for months. Catch the damage now before spring rains find the weak spots.
Exterior Inspection
- Shingle condition: Walk the perimeter and scan with binoculars. Look for missing shingles, cracked tabs, lifted edges, and curling. Pay extra attention to ridges and hips, where wind damage concentrates.
- Granule loss: Check gutters and downspout discharge areas after a rain. Heavy granule accumulation in the gutters signals accelerated shingle aging. Bare or shiny patches visible from the ground mean the asphalt layer is exposed.
- Ice dam damage: Look for lifted flashing at the eaves, staining on fascia boards, and any soft spots in the soffit. Ice dams can force water under shingles and into the attic — the visible damage often shows up weeks after the ice melts.
- Flashing inspection: Check step flashing along walls and dormers, pipe boot flashing around penetrations, and the ridge cap. Flashing that has lifted, rusted, or separated at the seam is a leak waiting to happen.
- Fascia and soffit: Look for peeling paint, soft spots, discoloration, or holes. Damaged soffit can allow pests into the attic space.
- Gutters: Check that gutters are still attached firmly after winter. Inspect for sagging sections, pulled hangers, and any cracks or separations at seams. Clean out any debris that accumulated over winter.
Attic Inspection
- Signs of water intrusion: Look for water stains on the rafters, decking, or insulation. Fresh stains will be darker than old ones. Probe any stained areas with a screwdriver — soft wood means rot has set in.
- Ventilation check: Confirm that soffit vents aren’t blocked by insulation and that ridge vents are clear. Poor attic ventilation accelerates shingle aging and contributes to ice dams.
- Insulation condition: Wet or compressed insulation loses its R-value and indicates a moisture problem. Check around any penetrations (bathroom fans, plumbing stacks, chimneys).
Spring Action Items
- Repair or replace any missing or significantly damaged shingles promptly — spring rains won’t wait.
- Re-seal any lifted flashing with roofing caulk or have a contractor apply a proper flashing repair.
- Clear gutters and flush downspouts before heavy spring rains arrive.
Tools for spring inspection: 10x42 binoculars | flashlight for attic work | moisture meter for wood
Summer Checklist (June–August)
Summer heat and UV radiation are the primary enemies of asphalt shingles. Additionally, summer storm season — particularly in the South and Midwest — brings hail and wind damage that requires prompt attention.
Heat and UV Assessment
- Shingle brittleness: In direct sunlight, asphalt shingles should have a slight flexibility. Severely aged shingles become brittle and crack when walked on or flexed. If your shingles look dry and faded rather than richly granulated, they may be in their final years.
- Attic temperature check: On a hot day, measure the attic temperature with a thermometer. A well-ventilated attic should be no more than 10–20°F above the outdoor air temperature. If it’s 140°F in the attic when it’s 90°F outside, your ventilation is seriously inadequate and your shingles are cooking from below.
- Ridge and soffit vents: Confirm that ridge vents aren’t covered by debris and that soffit vents are clear. This is the balanced ventilation system that keeps the attic from overheating.
- Pipe boot condition: Rubber pipe boot flashings around plumbing stacks degrade faster in UV-exposed areas. Look for cracking, shrinking, or separation around the pipe collar. These are among the most common causes of roof leaks and an easy DIY repair.
After Summer Storms
- Hail damage: After any hailstorm, inspect the roof from the ground and check soft metals (gutters, downspout elbows, AC condenser fins, window screens) for dents. If soft metals show hail hits, your shingles almost certainly do too — contact your insurance company to file a claim before the deadline.
- Wind damage: Check for lifted or missing shingles, especially along rakes (the sloped edges at the gable ends) and ridges. These areas take the highest wind loads.
- Tree contact: Branches touching or rubbing the roof abrade granules and can puncture shingles in wind. Trim any branches within 6 feet of the roof surface.
Summer Action Items
- Install or repair attic ventilation if temperatures are excessive — ridge vent upgrades are a DIY-accessible project.
- Replace any failed pipe boot flashings.
- Document any storm damage with photos and contact your insurer promptly if hail or wind caused visible damage.
Fall Checklist (September–November)
Fall is the most important maintenance window of the year. You’re preparing the roof for winter, cleaning gutters before leaves finish falling, and identifying anything that needs repair before cold weather makes exterior work difficult or dangerous.
Pre-Winter Exterior Check
- Complete shingle inspection: Repeat the spring exterior inspection. Pay attention to any shingles that have lifted tabs, cracked, or lost significant granules since spring.
- Flashing re-inspection: Re-seal any flashing that has shown movement. Chimney flashing, in particular, tends to work loose as the structure heats and cools through the seasons — check both the base flashing and the counter flashing embedded in the mortar joints.
- Caulk and sealant inspection: Check the caulking around skylights, pipe boots, and any roof penetrations. Replace any caulk that is cracked, dried out, or pulling away from the surface. Use a roofing-grade sealant rated for your climate zone. (roofing sealant on Amazon)
- Fascia and soffit re-check: Any soft spots found in spring should be repaired before winter. Rotted fascia won’t hold the gutters under snow load.
Gutter Cleaning and Inspection
- Final fall gutter cleaning: Do this after the majority of leaves have fallen in your area — typically late October to mid-November. Clogged gutters cause ice dams by holding water at the eaves.
- Downspout flush: Run a hose down each downspout to confirm free flow. Underground extensions should be flushed to clear any accumulated debris before they freeze.
- Gutter alignment: Check that gutters are pitched correctly toward the downspouts. A gutter with a low spot will hold standing water all winter.
- Gutter hanger condition: Replace any loose or missing hanger screws. Heavy wet snow and ice can pull a gutter off the fascia if the hangers are spaced too far apart or failing.
Attic Pre-Winter Check
- Insulation depth and coverage: Add insulation if you’re below the recommended R-value for your climate zone. Insufficient attic insulation causes heat to escape through the roof deck, melting snow unevenly and contributing to ice dam formation.
- Air sealing: Seal any gaps around light fixtures, plumbing penetrations, and attic hatches. Air leaks are the primary driver of ice dams.
- Bathroom and kitchen exhaust fans: Confirm that exhaust fans vent to the exterior, not into the attic. Fans dumping moisture into attic space cause condensation, mold, and accelerated shingle degradation.
Tools for fall maintenance: gutter scoop | roofing caulk gun | roof rake for snow removal
Winter Checklist (December–February)
In winter, your job shifts from repair and maintenance to monitoring and damage mitigation. Unless you’re in a mild climate (roughly Zone 6 and warmer), most exterior repairs will have to wait for spring. That doesn’t mean nothing to do.
Ice Dam Watch
- After every significant snowfall: Check your eaves from the ground. Icicles are a warning sign of ice dam conditions. Large icicles, especially combined with visible water staining on the soffit below, indicate water is backing up under the shingles.
- Roof snow load: In heavy snow climates, monitor accumulation. Most residential roofs are designed for 20–40 PSF snow loads, but wet heavy snow can approach 20 lbs per cubic foot. If accumulation exceeds 12–18 inches of wet snow, consider using a roof rake from the ground to pull snow off the lower 3–4 feet of the roof. (aluminum roof rake on Amazon)
- Interior ceiling checks: After a storm or during a thaw, walk through the house and look up. New water stains, drips, or wet drywall indicate an active leak. Act promptly — interior water damage compounds quickly.
Attic Winter Check
- Condensation and frost: Check the attic on a cold day. Frost on the underside of the roof decking indicates that warm, moist air is escaping from the living space into the attic. This is both a symptom of poor air sealing and a cause of future decking damage.
- Exhaust fan check: Make sure bathroom fans run while you shower and for 15 minutes after. If the attic smells musty in winter, fans may be venting into the attic instead of to the exterior.
Winter Action Items
- Use a roof rake after heavy snowfall — pull snow from the bottom 3–4 feet of the roof to break the ice dam cycle.
- Do not chip ice dams with an ice pick or hammer. You will damage the shingles.
- Apply calcium chloride ice melt socks along the eaves if ice dams form. Do not use rock salt — it damages shingles and gutters.
- Hire a professional if ice dams are severe. Steam removal is the safest method for significant ice dam removal.
DIY vs. Professional Items
You can do yourself:
- Ground-level and attic visual inspections
- Gutter cleaning and flushing
- Caulking around small penetrations
- Snow removal with a roof rake
- Replacing a failed pipe boot flashing (if comfortable on a low-slope section)
Hire a professional:
- Any repair involving replacing shingles
- Flashing repair at chimneys, dormers, or skylights
- Re-roofing decisions or assessments
- Ice dam steam removal
- Any work above a single story
A professional roof inspection costs $150–$400 and typically includes an attic review, written report, and photo documentation. After 15+ years on an asphalt shingle roof, an annual professional inspection is money well spent.
Consistency is what makes roof maintenance effective. A roof that gets a 30-minute inspection each season and prompt repairs when needed can easily reach its full 25–30 year service life. One that gets ignored until the ceiling is wet rarely does.

ShingleScience Team
Roofing Contractor & Founder of ShingleScience