Chimney flashing leaking? Diagnose the source before repair
Quick answer
Water beside a chimney does not prove the flashing is leaking. Compare the rain pattern, interior or safely accessible attic path, ground-visible conditions, and repair history before choosing a joint repair, targeted metal work, complete reflashing, or masonry and drainage work.
Common questions
- How can I tell whether chimney flashing is leaking?
- Record when the leak appears, inspect only safely accessible interior and attic areas, and compare the moisture path with ground-visible conditions. Wetness at the roof-to-chimney joint can support a flashing diagnosis, but crown, cap, masonry, cricket, shingle, and uphill roof defects can create similar stains.
- Can leaking chimney flashing be sealed instead of replaced?
- A limited joint repair may be reasonable when the metal is sound, correctly lapped, and properly integrated with the roof, and only a designed sealant or reglet joint has failed. Corroded, loose, missing, badly lapped, or repeatedly patched flashing usually needs mechanical repair or complete reflashing.
- Should a roofer or chimney professional repair a chimney leak?
- A roofer generally owns the shingles, underlayment, step flashing, apron, back pan, and cricket. A chimney or masonry professional generally owns the crown, cap, brick, mortar, and flue. Uncertain or mixed failures may require both trades to document a coordinated scope.
Source note: Technical and safety guidance was checked October 7, 2026 against current GAF flashing guidance, Chimney Safety Institute of America inspection materials, and OSHA residential fall-protection guidance. The roof-system instructions, adopted code, and site conditions control the repair.
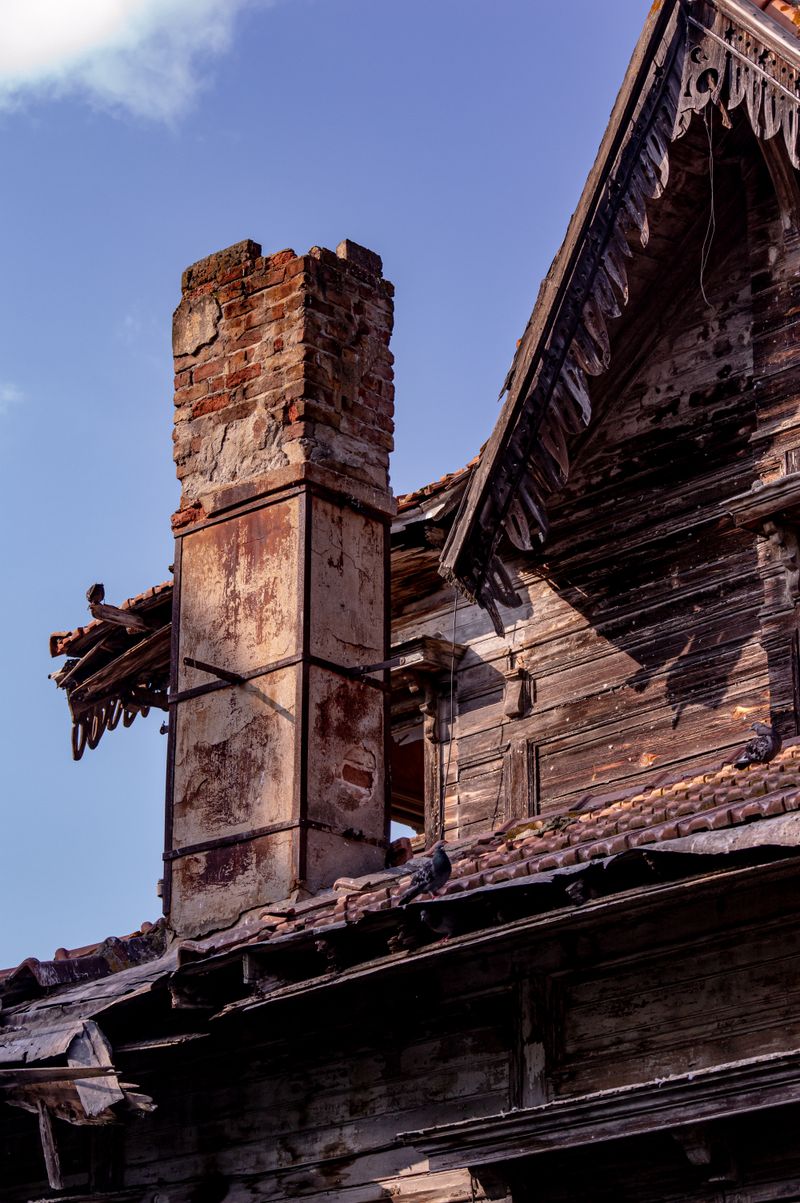
If your chimney flashing is leaking, the ceiling stain is evidence of water movement—not proof that the visible metal failed. Rain can enter through a cracked crown, missing cap, porous masonry, an open counter-flashing joint, failed step flashing, a debris-trapping cricket, or damaged roofing farther uphill. It may then travel along decking or framing before it drips indoors.
The right first move is to document the pattern from safe locations and make the repair match the source. Do not climb onto the roof or run an improvised hose test. GAF’s flashing overview recommends attic and ground observation for homeowners and professional evaluation rather than roof access.
First decide whether the leak is urgent
Keep people out of the affected area and call qualified help promptly when you see any of these conditions:
- Water near a light, outlet, appliance, wiring, or electrical panel
- A sagging, bulging, saturated, or falling ceiling
- Fast dripping that you cannot contain from a dry, stable floor
- A soaked attic floor, unstable walkway, wet wiring, or unsafe access
- Water in the firebox or flue, loose masonry, or concern about chimney stability
- Active storms, ice, darkness, a steep or high roof, or any need to climb above ground level
Do not touch a wet fixture or switch. Avoid using the fireplace or connected appliance until a qualified chimney professional has assessed water entry or damage involving the flue or firebox. If a bucket can be placed safely from the room below, document the location and protect furnishings without standing under a swollen ceiling.
What the leak pattern can—and cannot—tell you
No single clue confirms a source. Use the pattern to narrow the contractor’s investigation, not to authorize a blind patch.
| Pattern or clue | Possible source | What would strengthen the diagnosis |
|---|---|---|
| Water in the firebox or down the flue after mostly vertical rain | Missing or damaged cap, crown opening, or flue-top defect | A chimney inspection finds a cap, crown, wash, or termination problem |
| Damp brick, white deposits, or staining above the roof line after prolonged wet weather | Crown, mortar, brick, or masonry drainage problem | Moisture begins above the flashing and a masonry professional documents cracks, open joints, or absorption |
| Dampness first appears at one side of the roof-to-chimney joint during wind-driven rain | Step flashing, counter flashing, apron, or reglet joint | Interior moisture aligns with that face and a roofer documents a gap, corrosion, bad lap, or missing component |
| Leak follows heavy rain, snowmelt, or debris buildup on the uphill side | Back pan, cricket, drainage path, or ice-related backup | A contractor finds ponding, debris, inadequate diversion, damaged covering, or an applicable cricket requirement |
| Stain is offset from the chimney or appears after damage farther upslope | Shingle, underlayment, fastener, valley, or another penetration | A traced wet path starts uphill; see our hidden roof leak detection guide |
| Dampness appears without rain, especially during cold weather | Attic condensation, plumbing, or mechanical moisture | Widespread condensation, frost, ventilation issues, or a non-roof source is documented |
The Chimney Safety Institute of America Level 2 inspection guide treats the attic, crown, flashing, cricket, cap, and visible water damage as separate inspection points. That is a useful reminder: “near the chimney” describes a location, not a diagnosis.
Diagnose a chimney leak without climbing onto the roof
1. Build a weather timeline
Write down when the stain, drip, or odor first appeared. Note rain duration, intensity, wind direction, snowmelt, freeze-thaw conditions, and how long the symptom continued after the weather cleared.
Also record whether the fireplace, plumbing, bathroom fan, or HVAC equipment was used. A repeatable timeline helps separate wind-driven entry from saturation, drainage backup, or an indoor moisture source.
2. Map the interior evidence
Photograph the full room and close-ups of the stain with a ruler or another size reference. Mark the outer edge lightly with painter’s tape and add the date; do not puncture or press a swollen ceiling.
Check the firebox and surrounding wall from the room. Water inside the flue path points the investigation upward, while staining at the roof line can implicate several roof and masonry details.
3. Observe the attic only if access is safe
Use a flashlight from a dry, stable walkway. Look without touching wet materials for darkened sheathing, active droplets, rusty fasteners, damp framing, compressed insulation, or a water trail that begins uphill of the chimney.
Stop if the access is cramped, unboarded, wet, electrically hazardous, moldy, or structurally uncertain. A dry stain shows where water traveled previously; it does not establish the current entry point. Our roof inspection cost guide explains when a documented professional inspection can be more useful than another repair estimate.
4. Use ground-visible clues
From firm ground, binoculars or a zoom camera may reveal missing cap components, deteriorated masonry, gaps at exposed counter flashing, rust streaks, loose shingles, debris behind the chimney, or a visibly damaged cricket. Do not use a ladder for a better angle.
Ask the contractor for close-up roof photos and an explanation connecting each condition to the interior moisture path. Controlled water testing or selective opening may be appropriate, but it should be planned by qualified professionals who can isolate areas, limit damage, and work with fall protection.
Patch, targeted repair, or complete reflash?
Use this matrix to challenge vague proposals such as “seal around chimney.” Final scope still depends on opening conditions and the roof-system instructions.
| Documented condition | Likely scope | Why |
|---|---|---|
| One serviceable, designed sealant or reglet joint has separated; metal is sound and correctly lapped | Limited joint repair | Restores a specific maintainable joint without pretending sealant is the flashing system |
| A defined flashing piece is damaged, but adjacent layers can be exposed and integrated correctly | Targeted metal and roofing repair | Replaces the failed component while restoring underlayment, laps, and roof covering |
| Metal is corroded, loose, missing, face-fastened as a shortcut, badly lapped, or buried under repeated tar patches | Complete reflashing | Surface sealant cannot rebuild a failed water-shedding sequence |
| Step flashing is absent or cannot be verified without removing shingles | Open the transition and reflash as needed | The concealed shingle-to-metal integration determines performance |
| Crown, cap, brick, mortar, or through-wall drainage is the entry route | Chimney or masonry repair, coordinated with roofing work | New roof flashing will not stop water entering higher in the chimney |
| Water backs up behind the chimney or the cricket/back pan is deficient | Drainage and flashing correction | The repair must redirect runoff and restore the surrounding roof system |
| Entry starts in shingles, a valley, or another penetration uphill | Repair the actual roof source | Water can travel to the chimney before becoming visible indoors |
GAF warns against caulk-only chimney flashing shortcuts: step flashing and counter flashing work together as a layered assembly. Sealant can maintain a compatible joint, but it cannot replace missing metal, correct reversed laps, or restore rotten decking. Use our roof cement vs. roof sealant guide to discuss material compatibility without turning a product choice into a diagnosis.
For a clearer view of the components, compare step flashing and counter flashing. A complete reflash may involve removing enough shingles to inspect the deck and underlayment, replacing apron, step, counter, and back-pan pieces as applicable, restoring the roof covering, and coordinating any reglet, mortar, or cricket work.
Contractor handoff checklist
Give each bidder the same evidence and request the same written answers:
- Dated photos, stain measurements, and the weather timeline
- The interior or attic path and any fireplace or flue symptoms
- Known roof and chimney age, prior leak repairs, reroofing, and warranties
- The proposed entry point and evidence that rules out other likely sources
- Whether the scope is joint maintenance, targeted repair, complete reflashing, masonry work, drainage correction, or a combination
- Roof covering and underlayment to be removed and restored
- Flashing components, material, finish, laps, fasteners, and roof-system compatibility
- Cricket or back-pan condition and the applicable code or manufacturer detail
- Who owns masonry, roofing, interior, and electrical work
- Before, during, and after photos, plus a process for hidden decking or framing damage
- Workmanship warranty, exclusions, cleanup, and a plan if the first repair does not stop the leak
If two bids propose different repair levels, compare the evidence before the price. Our roof flashing repair cost guide shows how to normalize quote scope, while the chimney repair cost guide covers broader crown, cap, mortar, and rebuild work.
The safe next step
A chimney leak often crosses roofing and masonry boundaries. Start with documentation, then hire a qualified roofer, chimney professional, or both to identify the entry route and photograph the repair scope. Ask for a durable water-shedding detail—not an unsafe five-minute fix.
OSHA’s residential construction guidance notes that falls are the leading cause of death in residential construction and requires fall protection for covered workers at six feet or more. Homeowners should not treat roof access as a diagnostic shortcut. The useful work you can do is record the pattern, keep people away from hazards, and make contractors explain how their proposed repair addresses the documented source.

Shingle Science Editorial Team
Independent trade-focused editorial team