Roof ridge vent leaking? Diagnose it before repair
Quick answer
A wet mark below the peak does not prove the ridge vent is leaking. Match the moisture to weather and attic conditions, trace the highest safely visible wet point, and have a roofer distinguish ridge-cap damage, vent or fastener failure, an incorrect deck slot, wind-driven rain, a nearby entry point, and condensation before pricing repair.
Common questions
- Why does my ridge vent leak only during heavy rain?
- Wind-driven rain can expose a damaged, unsuitable, or incorrectly installed vent, cap, joint, end, fastener, or deck-slot detail. It can also enter at a nearby ridge intersection, chimney, wall, or roof-cover defect and travel to the ridge area. Storm timing narrows the inspection but does not prove the vent is the source.
- Can a leaking ridge vent be sealed with caulk?
- Do not cover the vent openings or apply a general bead as a diagnosis. A specific manufacturer detail may call for a compatible sealant at a defined joint, but sealant cannot correct a damaged cap, wrong fastener, oversized slot, deteriorated deck, unsuitable vent, or condensation problem.
- How much does ridge vent repair cost?
- A dependable price requires a local inspection and written scope. Cost depends on vent type and length, roof material and pitch, access, cap matching, deck or underlayment damage, ventilation redesign, permits, and interior drying or repair. Compare itemized scopes instead of one national average.
Source note: Technical and safety guidance was checked October 21, 2026 against current Quix by GAF ridge-vent installation instructions, FEMA high-wind roof-vent guidance, EPA moisture-control guidance, and OSHA residential fall-protection guidance. The installed vent and roof manufacturers' current instructions and locally adopted requirements control the repair.
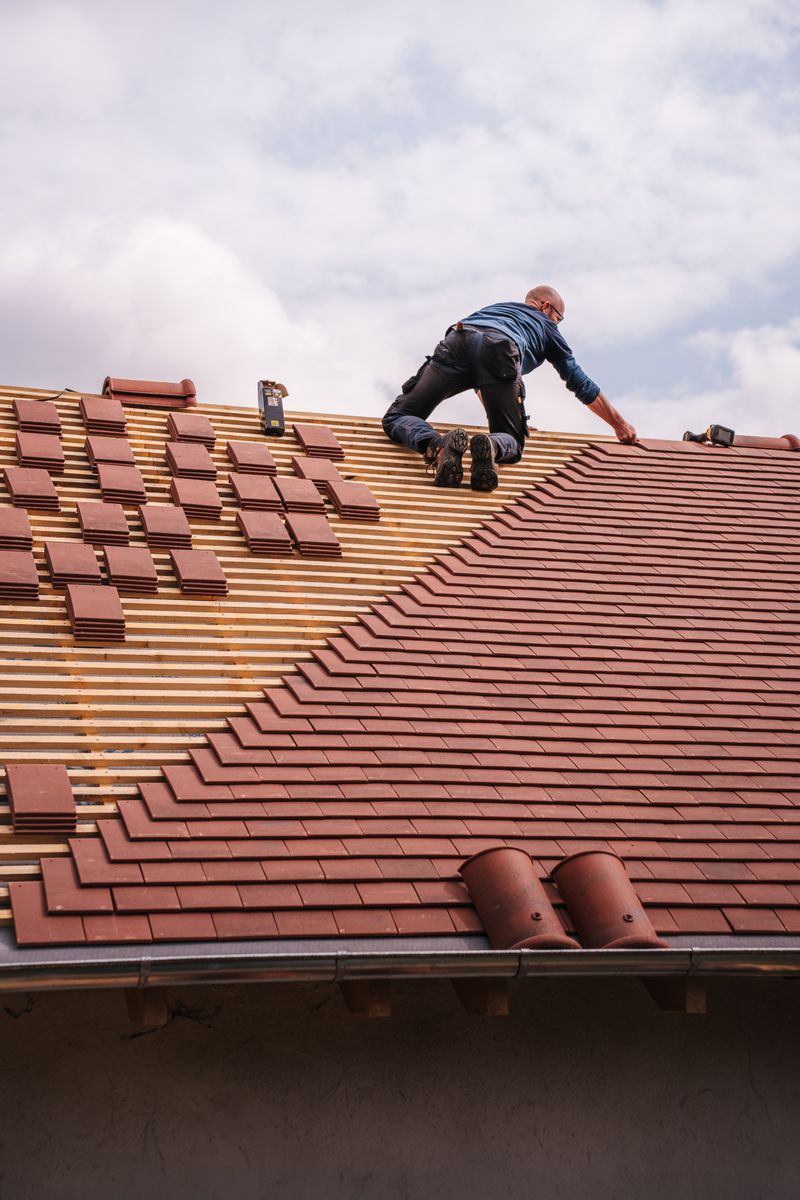
If your roof ridge vent is leaking, the ceiling stain is evidence of moisture, not proof of its entry point. Water can enter at a ridge cap, vent section, fastener, deck slot, chimney, roof intersection, or damaged covering, then follow decking or framing before it drips. Moisture at the ridge can also be condensation rather than rain.
The right first move is to document when, where, and under what conditions the moisture appears. A qualified roofer can then open only the area needed, compare the assembly with the exact vent and roof-product instructions, and write a repair scope that addresses the verified defect.
Make an active leak safe
Keep people away from a bulging ceiling or falling material. If water is near wiring, a light, an outlet, or an appliance, do not touch the affected equipment; arrange emergency electrical and roofing help. From a dry floor, move belongings and collect drips only if you can avoid standing beneath damaged finishes.
Do not inspect a wet roof, lift ridge caps, run a hose test, or cover the vent with plastic, tape, foam, or roof cement. Those actions add fall risk, can redirect water into the assembly, and may hide the evidence a contractor needs. OSHA’s residential fall-protection guidance treats roofing as fall-hazard work that requires planned protection for covered workers.
Ridge vent leak diagnosis: match the pattern to the evidence
No single clue confirms the cause. Give the roofer the pattern as well as photographs.
| Observation | What it may support | What still needs to be checked |
|---|---|---|
| Moisture appears only with heavy rain and wind from one direction | Wind-driven entry at a vent edge, joint, end, cap, or exposed fastener | Whether the installed vent is suitable for the exposure and whether a nearby chimney, wall, intersection, or damaged shingle admitted water |
| Wetting begins in ordinary rain near one short section | A cracked vent section, open joint, missing end detail, cap defect, or fastener path | The deck slot, underlayment, sheathing, and water path above the visible drip |
| Ridge-cap shingles are lifted, missing, split, or poorly fastened | Ridge-cap failure over or beside the vent | Damage to the vent body and deck, plus whether the fasteners and caps match the roof-system instructions |
| Water tracks below the edge of the ridge slot | A slot that is too wide, misplaced, or exposed at an end or intersection | The exact vent model’s slot dimensions, setbacks, and termination details |
| Dampness, frost, or rusty fasteners appear broadly in cold weather without rain | Attic condensation or indoor air leakage | Indoor humidity, attic air sealing, insulation, bath or dryer exhaust routing, intake ventilation, and other roof leaks |
| The highest wet point is beside a chimney, dormer, wall, hip, or ridge intersection | A nearby-detail or upstream leak | Flashing, covering, underlayment, and how water traveled to the ridge area |
FEMA’s high-wind roof-vent guidance notes that several attic-vent types can admit wind-driven water under some conditions. That makes storm direction useful evidence, but not permission to assume every heavy-rain leak is an unavoidable vent problem.
Document the leak without climbing
Build a storm and moisture record
For each event, record rain intensity, duration, wind direction if known, outdoor temperature, and the time the drip starts and stops. Note whether the mark also changes during dry cold weather, snowmelt, bathroom use, laundry, or HVAC operation.
Photograph the whole room, then the stain with a size reference. Measure it from two fixed walls. A stain directly below the peak can still be downhill from the entry point, so use our hidden roof leak detection guide for the broader water-path process.
Look from a safe attic position
Only enter an attic that has a dry, stable walkway and safe access. From that position, use a flashlight to look for the highest visible wet point, water trails on rafters, darkened sheathing, rusty fasteners, damp insulation, frost, or widespread moisture. Do not step between framing, disturb wet insulation near wiring, or crawl to the ridge.
Broad frost or sheathing dampness can point away from rain entry. EPA moisture-control guidance explains that warm, humid indoor air can reach cold attic surfaces, form frost, and later melt in a pattern mistaken for a roof leak. Compare those clues in our attic condensation vs. roof leak guide.
Photograph exterior context from the ground
Use binoculars or a zoom camera to capture the entire ridge and both roof slopes. Include missing or uneven ridge caps, lifted vent sections, visible gaps, nearby tree damage, chimneys, dormers, hips, valleys, and roof-to-wall joints. Ground-level images can guide a professional inspection, but they cannot show the concealed slot or deck condition.
What may have failed at the ridge
Ridge cap or fasteners
Cap shingles or metal ridge caps are the outer water-shedding layer. Wind damage, cracking, poor laps, exposed or backed-out fasteners, and incompatible replacement pieces can create a path even when the vent body is intact. The repair should restore the cap using the roof manufacturer’s specified materials, exposure, and fastening pattern.
Vent sections, joints, ends, or weather features
A broken, deformed, displaced, or incompatible section may need replacement. So may a failed joint or termination. Product-specific baffles, filters, end details, and overlaps are functional parts, not decoration; substituting a generic patch can obstruct airflow without restoring weather resistance.
Deck slot or installation geometry
The opening beneath a shingle-over vent must match its product instructions. The current Quix by GAF ridge-vent instructions, for example, specify different slot cuts depending on whether a ridge board is present, setbacks from walls and intersections, minimum vent extension beyond the slot, and fastener penetration. Those numbers are not universal; the contractor must identify your installed vent before judging the slot.
An oversized or badly terminated slot can require vent and cap removal, deck repair, underlayment work, and correct reinstallation. Surface sealant does not rebuild missing sheathing.
A nearby roof detail
Water from a chimney, wall, ridge intersection, hip, valley, damaged covering, or underlayment defect can travel toward the ridge. In that case, the vent may be where moisture becomes visible rather than where it entered. Use the roof flashing guide to understand the transitions the roofer may need to inspect.
Condensation and ventilation imbalance
Condensation calls for a building-envelope diagnosis, not a sealed ridge. The scope may involve ceiling air leakage, bath or dryer exhaust, insulation, soffit intake, blocked air paths, indoor humidity, or an incorrectly mixed exhaust system. Our roof ventilation guide covers intake, exhaust, and system balance; do not close a functional ridge vent without a code- and climate-appropriate redesign.
Match the repair scope to the finding
| Confirmed condition | Scope to discuss |
|---|---|
| Localized ridge-cap damage; vent and substrate remain serviceable | Replace the affected caps and specified fasteners, then document the vent condition beneath |
| Cracked section, failed joint, or incorrect termination | Replace compatible vent components or the run needed to restore the manufacturer’s complete assembly |
| Wrong slot width, setback, centering, or fastening | Remove caps and vent, repair deck or underlayment as needed, and reinstall to the identified product detail |
| Repeated wind-driven entry or unsuitable product for the exposure | Have the designer or roofer specify a tested, compatible vent and complete high-wind water-management scope |
| Wet, soft, delaminated, or mold-affected materials | Add documented deck, insulation, drying, and appropriate remediation work before closure |
| Nearby flashing or roof-cover defect | Repair the actual entry point and any ridge-area damage it caused |
| Condensation or ventilation-system defect | Scope air sealing, exhaust routing, insulation, intake, and ventilation together |
A metal-roof ridge assembly uses profile-specific caps, closures, sealants, fasteners, and ventilation details. Do not apply shingle-over vent instructions to a metal roof ridge vent leak; require the panel and accessory manufacturers’ details.
Why ridge vent repair cost varies
Ridge vent repair cost depends on the confirmed scope, not the size of the ceiling stain. A few damaged caps, an obsolete vent run, an oversized slot with deck repairs, and an attic condensation project are different jobs.
Ask each bidder to itemize vent brand and model, ridge length, cap material, removal and disposal, deck and underlayment work, fasteners, matching constraints, ventilation calculations, access and fall protection, permits, interior drying, hidden-damage unit prices, and warranties. For wider repair budgeting, see our roof repair cost guide.
Ridge vent repair quote checklist
Give every roofer the same storm log and photographs, then ask:
- What is the verified or most likely entry point, and what evidence supports it?
- What vent, ridge-cap, and roof products are installed?
- Which current manufacturer instructions and local requirements control the work?
- Will the vent be removed so the slot, underlayment, deck, and fasteners can be documented?
- Which nearby details and condensation sources were ruled out?
- Is the work a component repair, partial run replacement, full vent replacement, deck correction, or ventilation redesign?
- How will hidden damage, unavailable matching caps, or an obsolete vent change the price?
- How will intake and exhaust balance, warranties, cleanup, and post-repair documentation be handled?
The useful next step
Record the next leak event from safe indoor or ground-level locations and send the same evidence to qualified local roofers. Ask for an itemized diagnosis before authorizing a patch. The durable repair is the smallest complete scope that restores the verified ridge, roof, or moisture-control detail without blocking the ventilation system.

Shingle Science Editorial Team
Independent trade-focused editorial team