Roof leaking around a vent pipe? How to find the source
Quick answer
If a roof is leaking around a vent pipe, the pipe boot is only one possible source. Match the water's location with rain, wind, temperature, and plumbing use, then trace the first wet point from a safe interior location before choosing a roofing or plumbing repair.
Common questions
- Why does a roof vent pipe leak only during heavy rain?
- Heavy or wind-driven rain can expose an open boot collar, lifted flashing edge, damaged shingle, or another entry point upslope. Timing makes rain entry more likely, but the first wet point still must be traced because water can travel along the pipe, sheathing, or framing.
- Can condensation look like a roof vent pipe leak?
- Yes. Condensation can form on a cold pipe when warm, humid attic air reaches it, including during dry weather. Uniform beads or dampness along a longer pipe section suggest condensation; a defined trail beginning at the roof opening after rain points more strongly to roof entry.
- Should you caulk around a leaking vent pipe?
- Do not smear sealant over the area before the source and product are identified. Sealant cannot correct damaged flashing, rotten decking, poor shingle integration, a plumbing leak, or an upslope roof leak, and it can hide useful evidence.
Source note: Reviewed against current GAF pipe-boot repair and product instructions plus OSHA roof-repair and attic-work safety guidance. The roof covering, flashing product, adopted code, and site conditions control the final repair detail.
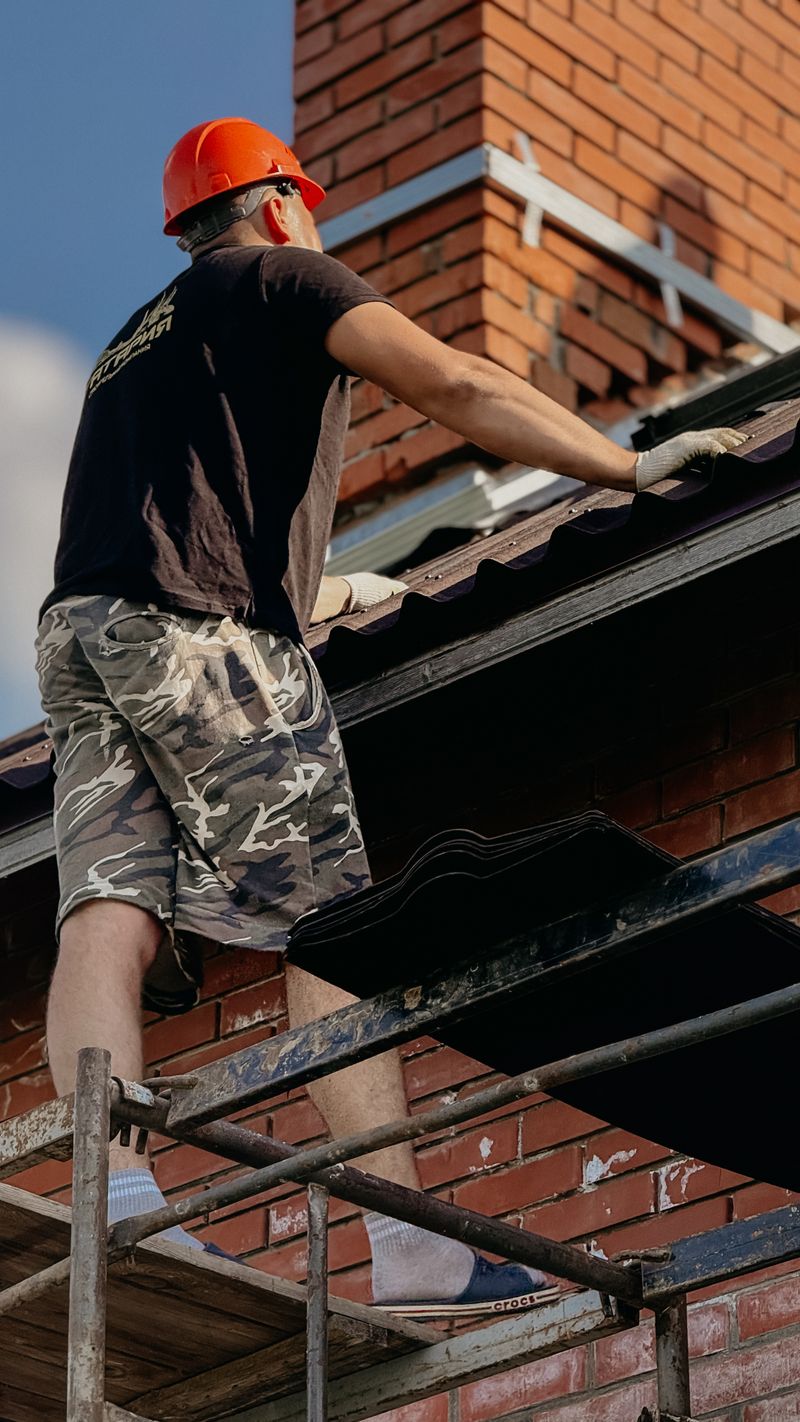
When a roof is leaking around a vent pipe, a failed pipe boot is a strong suspect, but the ceiling stain does not prove it. Rain can enter higher on the roof and travel to the pipe, condensation can form on the pipe in dry weather, and a plumbing leak can wet the same area.
Start with timing and the first visible wet point—not with roof access or a tube of sealant. Note whether the water follows rain, wind, temperature changes, or fixture use. Document the pipe and nearby framing from a safe interior location so a roofer can test the likely path; involve a plumber when water begins at the pipe or a joint below the roof.
Roof vent pipe leak diagnosis matrix
Use this location × weather × evidence matrix to narrow the possibilities. It is a triage tool, not a substitute for an on-site inspection.
| Where water first appears | When it appears | Evidence to look for safely | More likely source |
|---|---|---|---|
| At the roof-deck opening or on the outside of the pipe just below it | During or soon after rain | A defined trail from the penetration, wet upper edge of the opening, or stained deck around the pipe | Pipe boot, flashing, or surrounding roof covering |
| On the windward side of the penetration or only during hard, angled rain | Wind-driven or heavy rain | Wetting on one side, a trail from an edge, or storm damage nearby | Open flashing edge, collar gap, damaged shingle, or another wind-exposed detail |
| As beads over a longer section of pipe | Cold weather, high indoor humidity, or sometimes no rain | Uniform surface moisture rather than one trail from the roof deck | Condensation on the pipe |
| At a coupling, crack, or branch below the roof | After a fixture is used, or during dry weather | Moisture begins at a plumbing joint or pipe defect rather than the roof opening | Plumbing leakage |
| On sheathing or a rafter above the penetration, then at the pipe | After rain, possibly with a delay | Staining continues upslope beyond the vent opening | Valley, fastener, shingle, ridge, wall, or other upslope roof entry |
| Across the deck around the pipe after a storm | After wind, hail, debris, or prolonged rain | Torn roofing, displaced materials, soft decking, or a widened wet area | Surrounding shingle, underlayment, or decking damage |
A stain below the vent can sit several feet from the entry point. Water can run along roof sheathing, a rafter, the outside of the pipe, or insulation before it reaches drywall. That is why location alone is not source proof.
Stop and make the area safe first
Do not enter an attic or approach the roof while water is reaching electrical equipment, the ceiling is bulging, framing looks sagged, or there is no stable walking surface. Keep people away and contact qualified help. Use a breaker only if you can reach it without contacting water; otherwise call emergency or electrical service.
For any inspection:
- Stay off wet, icy, steep, storm-damaged, or otherwise unprotected roofs. Homeowner observations should come from the ground, a window, or a safe interior location.
- Do not step between attic framing members. Drywall is not a walking surface; insulation can hide openings, nails, wiring, and damage.
- Do not disturb suspect mold, asbestos-containing material, wet wiring, or unstable insulation. Stop and bring in the appropriate professional.
- Do not perform a random hose test. Uncontrolled water can enlarge the damage and still produce a false source.
- Do not smear sealant over the boot or shingles. It can conceal the path without repairing the failed assembly.
OSHA tells contractors to evaluate roof integrity and plan suitable fall protection. Its attic guidance identifies hidden gaps, wiring, nails, low clearances, heat, and poor lighting as hazards. Homeowners should stay within the safe observation boundary.
Five sources that can look like a leaking pipe boot
1. Boot or flashing failure
The pipe boot is the water-shedding assembly around a plumbing vent. It may use a flexible collar, formed metal body, replaceable insert, or another system-specific detail. A split collar, distorted flange, exposed fastener, open edge, or poor shingle integration raises suspicion, but the roofer should confirm that water begins there.
2. Condensation on the pipe
A cold pipe can collect moisture from warm, humid attic air. Condensation is more plausible when beads cover a longer pipe section, dampness occurs without rain, or the pattern follows cold temperatures and humidity. Check air leakage, insulation, ventilation, and pipe conditions; our attic condensation versus roof leak guide explains the broader clues.
3. Plumbing leakage
Water beginning at a coupling, crack, or branch below the roof may belong to the plumbing system. Fixture-use or dry-weather dripping is useful evidence. A plumbing vent differs from an exhaust duct, combustion flue, or intake, so identify the penetration before work. Some cases require both trades.
4. Damaged shingles, underlayment, or decking around the pipe
The boot may be intact while adjacent materials are cracked, displaced, poorly lapped, or deteriorated. Water can reach the deck beside the flashing and migrate to the opening. The contractor should inspect the roof covering, flashing, underlayment or leak barrier, deck, fasteners, and pipe as one assembly.
5. An upslope entry point
A valley, wall transition, ridge, nail, damaged shingle, or another penetration can feed water downslope. If staining begins above the vent, repairing the boot alone is unlikely to solve the problem.
Use the hidden roof leak detection guide for whole-roof tracing and the roof flashing guide to understand the other flashing types a roofer may inspect.
What to photograph and measure for the roofer
Good documentation can shorten the first visit. Record:
- The interior location. Photograph the room, then the stain close up. Note its approximate distance from two fixed walls.
- The event timing. Record start and stop times, rain intensity, wind direction if known, temperature, and whether plumbing fixtures were used.
- The attic path. From a stable, accessible position, photograph the pipe, deck opening, nearby framing, insulation, and highest visible stain. Do not move wet material near wiring.
- The pipe identity. Note which room or plumbing group appears below it and whether the pipe is plastic or metal. Do not disconnect, cap, or move it.
- The exterior context. From the ground, photograph the roof plane, penetration, nearby valley or wall, and visible storm damage.
- The change over time. Place a dated outline at the dry edge of a ceiling stain only when the surface is stable and safe, then photograph any growth.
Give the roofer reference points and water-path photos; do not claim a precise roof coordinate from the stain.
How the confirmed source changes the repair
The scope should follow the diagnosed failure:
- Compatible collar or retrofit: possible only when the manufacturer allows it and the flange, roof covering, deck, and pipe remain serviceable.
- Full boot or flashing replacement: more likely when the collar or flange failed, installation is wrong, or adjacent materials must be opened.
- Plumbing repair: appropriate when leakage begins at the pipe or joint rather than the roof penetration.
- Condensation correction: may involve moisture control, air sealing, insulation, ventilation, or pipe-specific work.
- Adjacent or upslope roof repair: required when the traced path begins outside the penetration assembly.
GAF’s repair article calls for confirming the source before flashing work. Its Master Flow Pivot instructions show leak-barrier, alignment, fastening, overlap, and shingle-termination steps for that product; its steep-slope field guide adds GAF system context. Those are not universal specifications. Follow the selected flashing and roof-covering instructions.
For a focused comparison of limited repair, full replacement, and cost drivers, see our roof vent pipe boot repair and replacement guide.
Repair-quote checklist
Ask each contractor to put the following in writing:
- The evidence identifying the entry point, including attic and roof photos
- The type of pipe and confirmation that it is a plumbing vent
- The roof covering, flashing product, pipe size, and compatibility basis
- Whether the scope is a collar, approved retrofit, full flashing replacement, plumbing repair, or adjacent-roof repair
- How shingles or other roof materials will be removed, lapped, fastened, sealed, and restored
- How underlayment, leak barrier, deck, and the opening around the pipe will be evaluated
- The allowance or change-order process for wet deck, brittle shingles, or concealed damage
- Access, staging, weather limits, and fall-protection provisions
- Interior drying, insulation, ceiling, mold, and electrical exclusions
- Before, during, and after photos plus a written workmanship warranty
- The closeout method used to confirm the leak path has been corrected
A quote that says only “seal vent” does not define what failed or how the repair reconnects to the drainage plane. Use the roof repair cost guide for access and concealed-damage questions, and verify credentials with our guide to finding a roofing contractor.
The next step
Document the next event from a safe location and ask a qualified roofer to trace the first wet point before proposing a repair. Include a plumber if water starts at a joint or follows fixture use. Keep the area isolated and seek urgent help when water is near wiring, the ceiling bulges, or the structure appears unsafe.
The goal is not to prove the boot guilty. It is to identify the actual water path once, then buy the repair that addresses that source.
Sources and image credit
- GAF: Using Pipe Boot Flashing for a Roof Leak Repair
- GAF: Master Flow Pivot Pipe Boot Installation Instructions
- GAF: Steep-Slope Pro Field Guide
- OSHA: Reducing Falls During Residential Construction—Roof Repair
- OSHA: Reducing Falls During Residential Construction—Working in Attics
- Photo by Bulat843 on Pexels

Shingle Science Editorial Team
Independent trade-focused editorial team