Roof drip edge repair and replacement guide
Quick answer
Drip edge directs runoff away from roof-deck edges and into the intended drainage path. Replacement scope depends on corrosion, bending, fastening, underlayment sequence, gutter and fascia condition, local code, and the roof manufacturer's instructions.
Common questions
- Does drip edge go over or under roof underlayment?
- The 2024 IRC places underlayment over the drip edge at eaves and under the drip edge at rake edges for shingle roofs. Local adoption, amendments, reroof conditions, product instructions, and enhanced systems can vary, so the project-specific requirements must be confirmed.
- Can drip edge be replaced without replacing the roof?
- Sometimes, but the feasibility depends on whether shingles and underlayment can be lifted without damage, how the metal is fastened, and whether gutters, starter strips, or edge materials block access.
- Is bent drip edge only cosmetic?
- Not always. Bending can disrupt drainage, create gaps, expose deck edges, interfere with gutters, or loosen fasteners. A roofer should assess whether water still sheds clear of the fascia and into the gutter.
Source note: Reviewed against the 2024 IRC drip-edge provision, GAF technical guidance, and Owens Corning underlayment installation instructions.
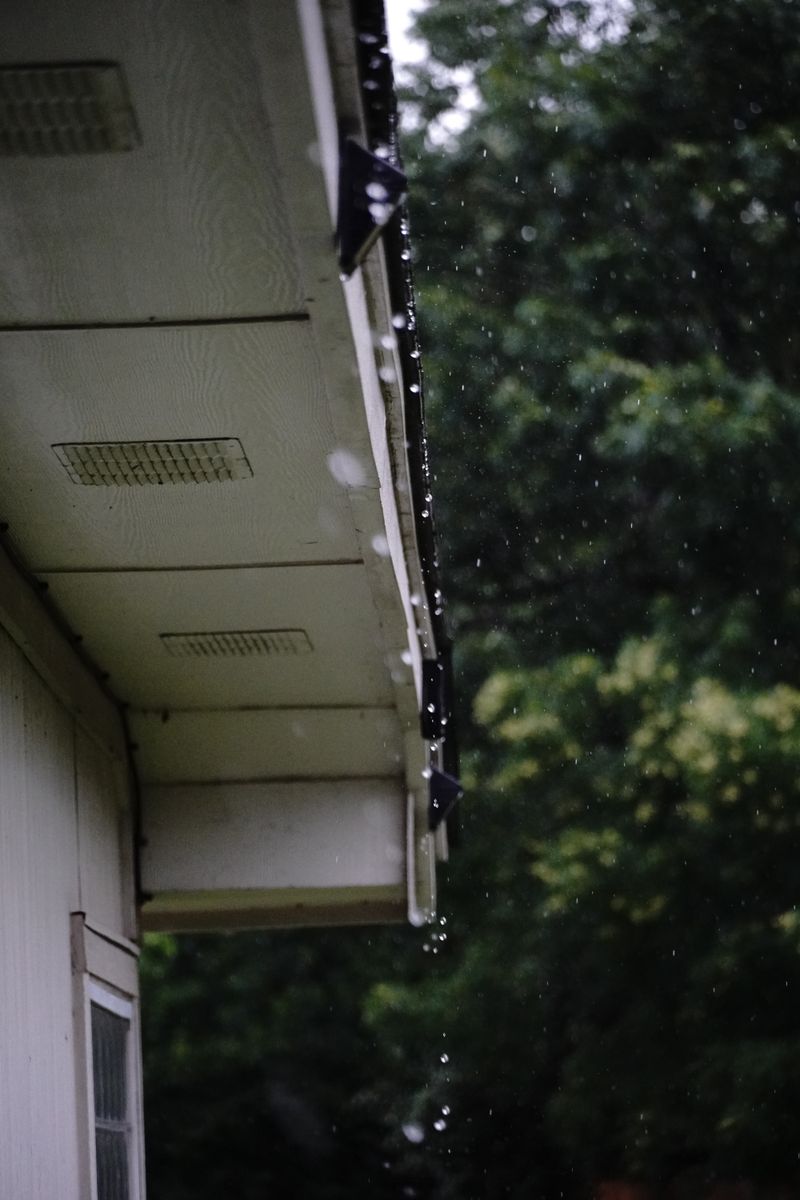
Drip edge is a narrow strip of metal, but it sits at one of the roof’s most exposed transitions. When it is missing, rusted, bent, loose, or sequenced incorrectly with underlayment, runoff can reach the deck edge, fascia, soffit, or wall instead of dropping clear.
A good drip-edge repair restores the water-shedding sequence, not just the appearance of the metal. Use this guide to understand the scope and ask better estimate questions without turning edge work into an unsafe DIY roof-access project.
What roof drip edge does
Drip edge is corrosion-resistant edge flashing installed along the roof’s:
- Eaves: Horizontal lower edges where runoff normally enters gutters or falls clear
- Rakes: Sloped gable edges running from eave toward ridge
Its projecting profile helps direct water away from the exposed edge of the roof deck and underlying trim. It also provides a defined metal edge for underlayment, starter materials, and roof covering details.
Drip edge is one component in the larger flashing system described in our roof flashing guide. It cannot compensate for failed gutters, rotten fascia, inadequate shingle overhang, or incorrect underlayment.
Eave vs rake sequencing
The placement of underlayment relative to drip edge is deliberately different at eaves and rakes in the model code.
The 2024 International Residential Code states that, for shingle roofs covered by its provision, underlayment is installed over the drip edge along eaves and under the drip edge along rake edges. It also specifies overlap, dimensions, and fastening criteria. Read IRC Section R905.2.8.5.
The water-shedding logic is:
- At the eave, underlayment laps over the edge metal so drainage reaches the metal rather than running behind it.
- At the rake, edge metal laps over the underlayment to help cover and secure the exposed side edge.
That is a useful baseline, not a universal job specification. Your jurisdiction may enforce a different IRC edition, local amendment, state code, or product approval. A manufacturer’s underlayment, starter, shingle, metal-roof, or enhanced-wind system may add instructions that must be coordinated with the adopted code.
Why product instructions also matter
Owens Corning’s WeatherLock Mat instructions, for example, direct installers to apply the product over drip edge at eaves and under drip edge at rakes unless local requirements permit otherwise. The document also includes deck-preparation, overlap, slope, and high-wind details specific to that underlayment. Review the current WeatherLock instructions.
GAF separately advises following the printed shingle instructions, using noncorroding metal, fastening the edge adequately, and coordinating shingle overhang with the gutter. See GAF’s drip-edge technical bulletin.
An estimate should identify the actual roof system and applicable documents rather than cite “code” in the abstract.
Signs drip edge needs attention
Inspect from the ground with binoculars or a zoom camera. Look for:
- Missing sections or exposed deck edges
- Rust-through, white corrosion, or flaking coating
- Bent, crushed, wavy, or pulled-away metal
- Open joints or short overlaps
- Loose or missing fasteners
- Sections tucked behind rather than directing water toward the gutter
- Water streaks down fascia or siding
- Peeling paint, swollen trim, or soft fascia below the edge
- Shingle edges curling into the gutter or sitting too far back
- Gaps at corners, gutter aprons, or rake-to-eave transitions
Water staining can have more than one cause. Overflowing gutters, splashback, ice dams, short shingle projection, and rotten fascia may resemble a drip-edge failure.
Repair or replace?
Limited repair may be reasonable when
- Damage is confined to a short, accessible section
- The metal is otherwise sound and compatible
- Shingles and underlayment can be handled without cracking or tearing
- The joint can be integrated in a shingle-style, upslope-over-downslope sequence
- Deck, fascia, starter, and gutter conditions are sound
Replacement is more likely when
- Corrosion or bending is widespread
- Metal is missing on long eave or rake runs
- Fastening and overlap are consistently deficient
- Water has damaged the deck edge or fascia
- The roof covering is already being replaced
- Existing metal cannot be integrated with the required underlayment sequence
- The selected roof system or local requirement calls for a different profile, material, or detail
Partial replacement can be deceptively difficult because old shingles may be brittle and the metal flange may be fastened beneath underlayment, starter, and roofing. Forcing it out can tear the water-shedding layers.
Drip edge during a reroof
A full tear-off provides the clearest opportunity to inspect the roof edge and install components in the intended order. The crew can evaluate:
- Deck edges for rot, swelling, and attachment
- Fascia and subfascia condition
- Gutter position and brackets
- Ice-barrier and underlayment requirements
- Drip-edge profile, material, laps, and fastening
- Starter-strip and shingle projection
- Rake-to-eave and corner transitions
Our starter strip shingles comparison explains factory starter, permitted field-made alternatives, sealant position, edge coverage, and the bid details that should be documented before the first course conceals the work.
Compare the underlayment choices in our roof underlayment guide. If the deck edge is damaged, also review the quote structure in roof decking replacement cost.
Gutters, fascia, and soffits are part of the diagnosis
Drip edge should discharge into the intended drainage path. If water runs behind a gutter, determine whether the cause is edge-metal geometry, gutter position, missing apron detail, shingle projection, blockage, or multiple conditions.
Rotten fascia may not hold gutters or edge fasteners reliably. Peeling soffit or fascia can also signal chronic overflow or roof-edge leakage. Our soffit and fascia replacement cost guide helps separate trim replacement from the roofing scope.
Do not let a contractor promise that new edge metal alone will fix a drainage problem without examining the gutter and substrate.
Estimate questions that reveal the real scope
Ask each bidder:
- Will the work cover eaves, rakes, or both?
- What metal type, finish, profile, and dimensions are included?
- Which adopted code and manufacturer instructions govern the detail?
- How will underlayment be sequenced at eaves and rakes?
- What joint overlap and fastening pattern will be used?
- How will corners and rake-to-eave transitions be formed?
- Are starter strips and shingle projection included in the edge review?
- Must gutters be removed, loosened, reset, or replaced?
- How are rotten deck edge, fascia, or subfascia priced if discovered?
- Will the repair disturb the shingle or underlayment warranty?
- How will photos document concealed conditions and completed work?
The written answers matter more than a line item that only says “replace drip edge.”
Safety and repair boundaries
Roof edges combine fall exposure with loose metal, sharp cuts, ladders, and the need to lift covering materials. Homeowners can inspect from the ground, photograph stains, clear safe ground-level downspout outlets, and compare written scopes.
Leave metal removal, roof-edge access, shingle lifting, and underlayment integration to a qualified roofer or sheet-metal professional using appropriate fall protection. For contractor vetting and bid comparison, use our guide to finding a roofing contractor.
The bottom line
Drip-edge repair is successful when water moves from roof covering and underlayment onto the edge metal and into the intended drainage path without reaching the deck edge or fascia. The eave and rake sequences are not interchangeable, and the exact detail depends on adopted code, product instructions, and the existing assembly.
Document corrosion and water paths from the ground, then request a written scope covering metal, laps, fastening, underlayment, starter, gutter, and substrate conditions. That checklist makes a small flashing line item much easier to evaluate.
Sources and image credit

Shingle Science Editorial Team
Independent trade-focused editorial team